Building an Ergodox
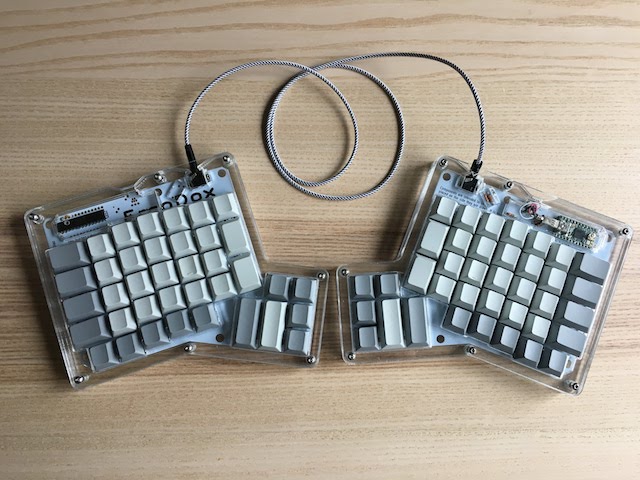
Ergodox is a keyboard project designed with ergonomics in mind, available either as a DIY kit or an assembled, commercial version. It uses 76-80 Cherry MX style mechanical switches (such as Cherry or Gateron) laid out in a columnar stagger (rather than the more conventional row stagger) layout with components that can easily be sourced. The keyboard is completely programmable and can be flashed with several different firmware options. (blurb from ergodox.io)
Why build and not buy?
I’ve wanted an ergodox for some time now, but due to the high cost and my inexperience working with electronics I postponed that project.
During the summer I spent a good deal of time assembling a quadcopter and soldering/tinkering more. Having that experience made me re-discover that electronics are fun! With that in mind I decided to create something with electronics that I could use and be proud of.
Since I’m a software developer, making a tool that I can enjoy and use all the time made a lot of sense. (plus I love the clicky sound of old keyboards) More good reasons showed up after I decided to go with the split design.
- Ergonomics: I spend A LOT of time typing. That translates into some muscle strain (and back pain)
- Efficiency: Being able to map important keys the right way speeds up my work
- GeekCred: Yes, saying you built your own keyboard is like a 10 in the stallman neckbeard scale.
Getting Started
Allright, I had the idea. Now, the ergodox started as massdrop offer a few years ago. I’m joining this bandwagon a little too late to get an ergodox drop (many cool mechanical keybs came after that, but that is another story). So the adventure starts with locating the parts. Not only that, but parts on the cheaper side. Remember that the idea is to get an ergodox cheaper than the premade ergodox_ez (it’s around $329).
Parts Needed
So the parts needed for this assembly are:
Grand total: $187.41 (plus tax and shipping).
Getting started
Right side components:
TOP:
- 2x 2.2k OHM resistors
- 2x 2200 OHM resistors
- Teensy 2.0
- 1 3.5 audio jack
- 1 Mini usb socket
BOTTOM:
- SMD diodes
Left side components:
- I/O Expander
- Ceramic capacitor
- 3.5 audio Jack
BOTTOM:
- SMD diodes
Resistors soldering
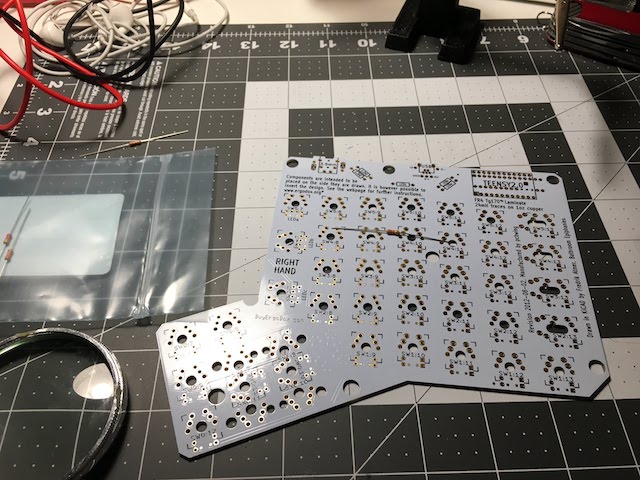
I’ve watched some youtube videos and most of them start with the SMD soldering. I received first the PCB and the parts from Digikey. The diodes will take another week to be here, so I jumped to start soldering the I/O Expander and the resistors.
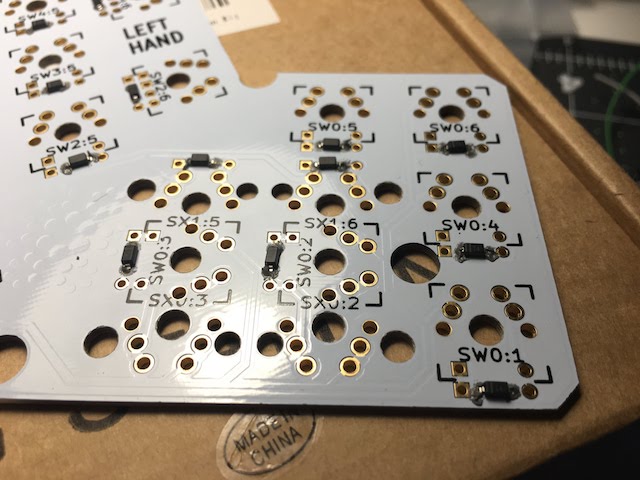
An important bit of information here, the PCBs are reversible. Where you solder the SMDs and other components will determine what side of the keyboard that specific PCB is going to be.
Since this project would require a good deal of soldering, I “invested” in a good soldering station with temperature control.
I started defining my right hand side. Grabbed those resistors and soldered away.

The long legs of the resistors will be reused when bridging the indicated spots close to the audio jacks
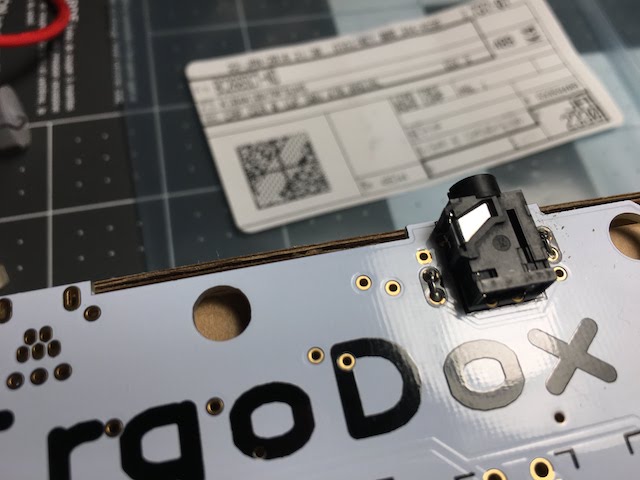
Soldering the audio jacks
Now while I was at it, I proceeded to solder the audio jacks. They go on the top side, same as resistors, Teensy and I/O expander
They have only one possible position, no way to fail if you put it on top of the PCBs
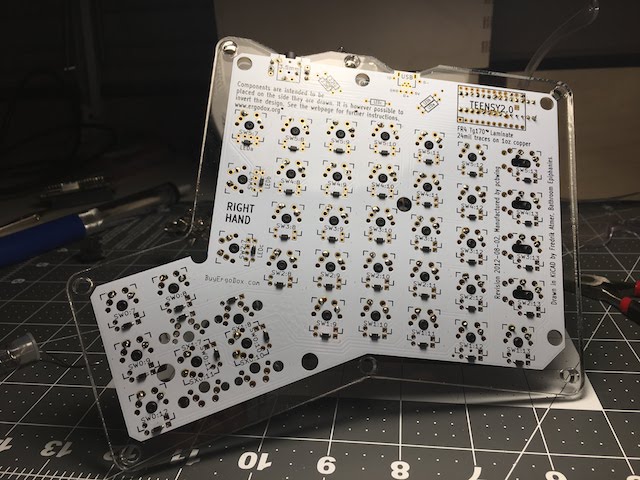
Bottom view:

This is the finished view of the top components on the right half so far.

Teensy and USB Socket
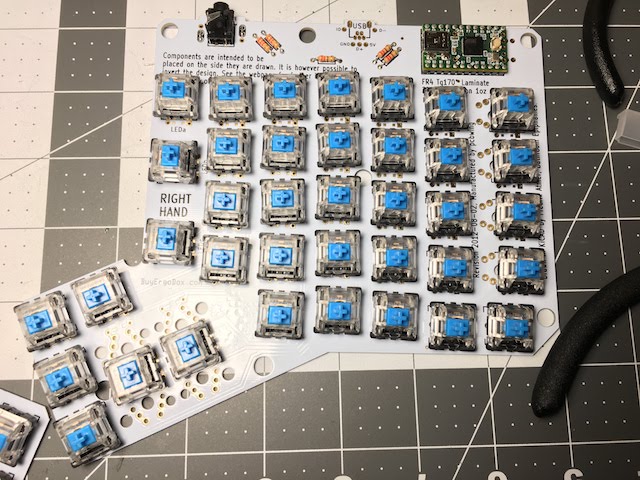
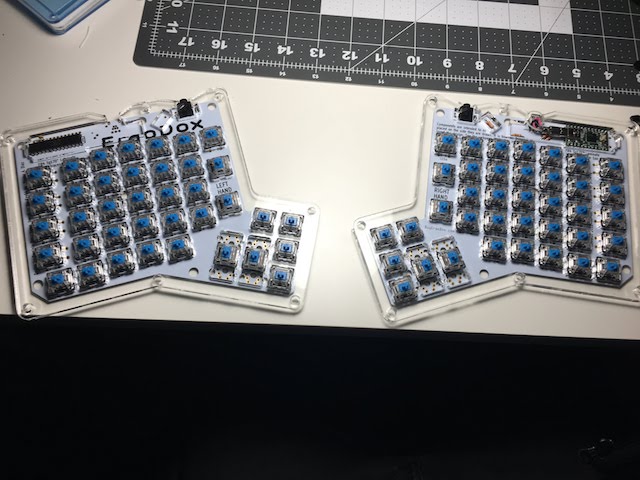
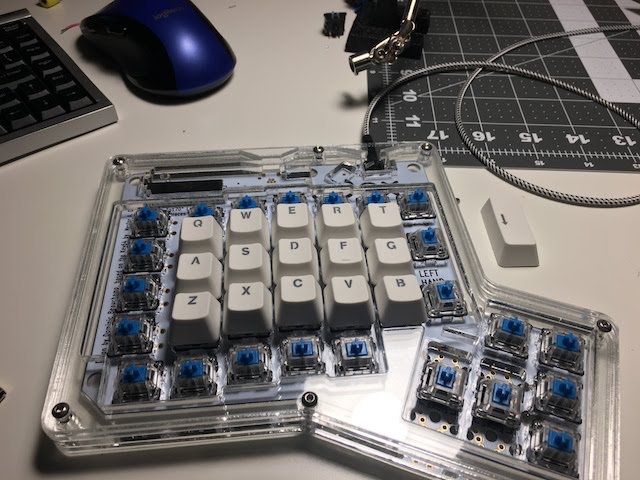
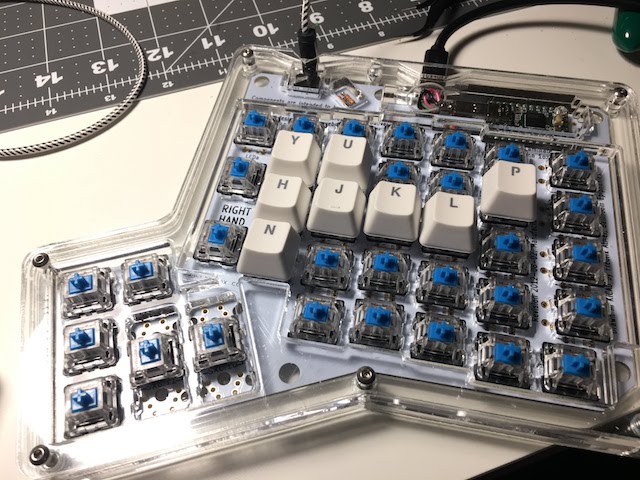
The Teensy sits on the top right side of the right half and the mini usb port must be looking towards the left. This is a dry run with the blue switches. They were not soldered at this point, I was just testing them to see how loud they were (turns out they are a little on the loud side).
This is the bottom view of the Teensy:
Mini USB socket and USB wiring
So this is something that puzzled me a bit initially, but the usb connection between the Teensy and the PCB have to be made using a common mini USB plug that you need to strip open and solder to the board.
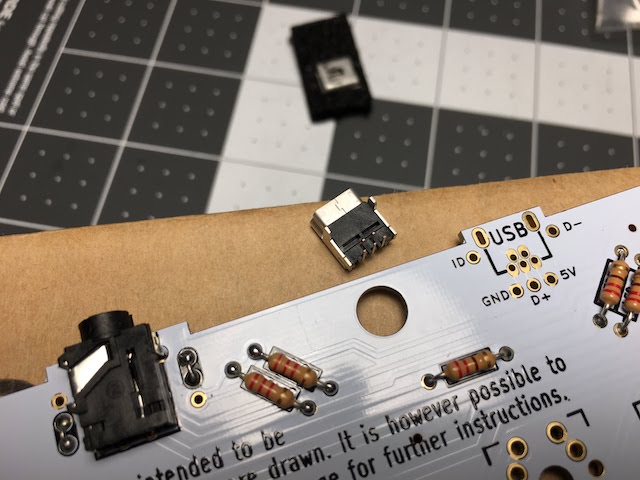
The USB socket goes on the top side of the right half. Pretty straightforward. After that, I cut open an old Mini USB cable and removed all the plastic to expose the wires.

Since we are talking about ANY cable that can be ripped apart, some variations on color may exist. But I’ve found out the wiring can be determined with this table:
| Pin | Possible Color | Possible color | |
|---|---|---|---|
| Ground | Black | Blue | Blue |
| D - | White | White | Orange |
| D + | Green | Green | Green |
| 5v | Red | Orange | Brown |
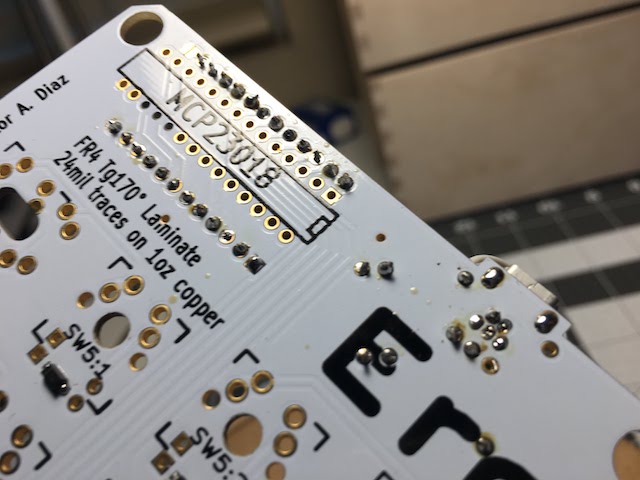
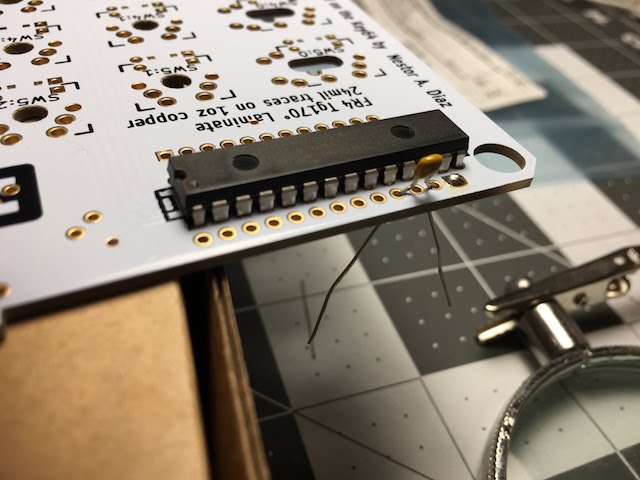
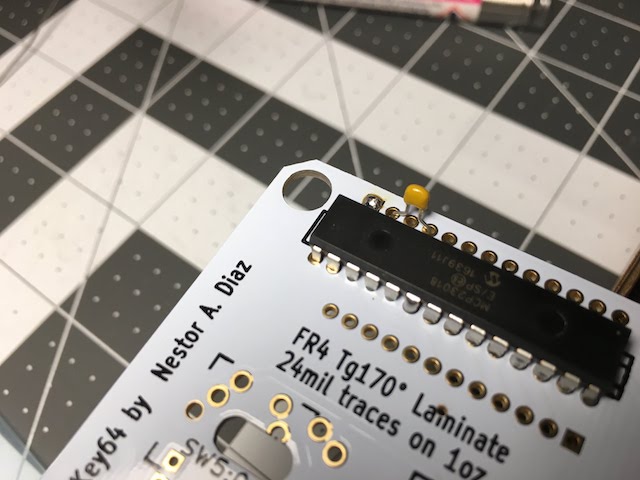
I/O Expander and Ceramic capacitor
The I/O expander sits on the far top left side of the top half. It has to be oriented so the notch is looking to the right.
The ceramic capacitor legs go on the first and third hole from the left. Also the first 2 contact pads on the PCB must be shorted with some solder.
SMD Soldering
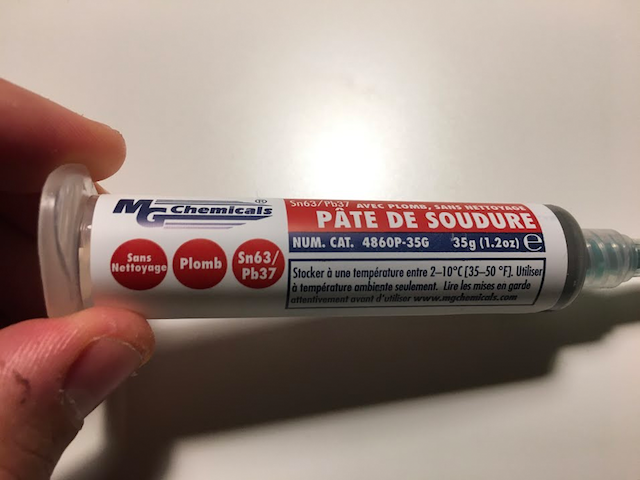
The PCBs allow you to either solder SMD components or classic through the hole diodes. This keyboard has 76 keys, what would be taking a good time to solder. I decided to go with SMDs diodes and solder paste. That was the first time I used solder paste and it is an impressive time saver. Basically you put paste, sit your components and heat it up with a heat gun. The paste then melts the gel and the solder solidifies.
This is the paste I bought from Amazon:
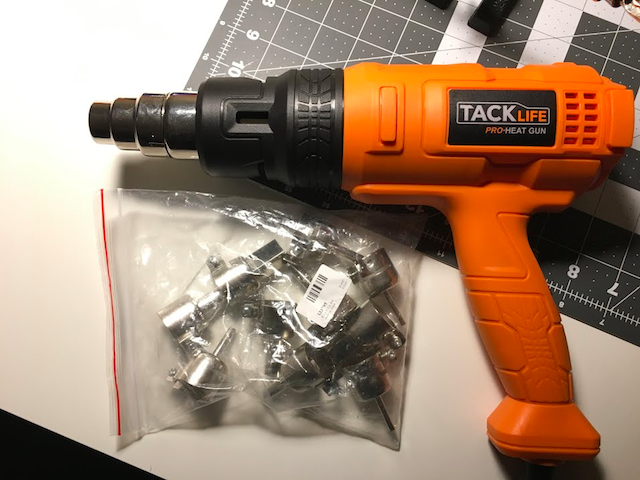
And this very cheap heat gun with some nozzles to direct the hot air easily ( also from Amazon heat gun and nozzles):
One important detail about the SMDs is that they have a polarity. The lines must be soldered on the square side.
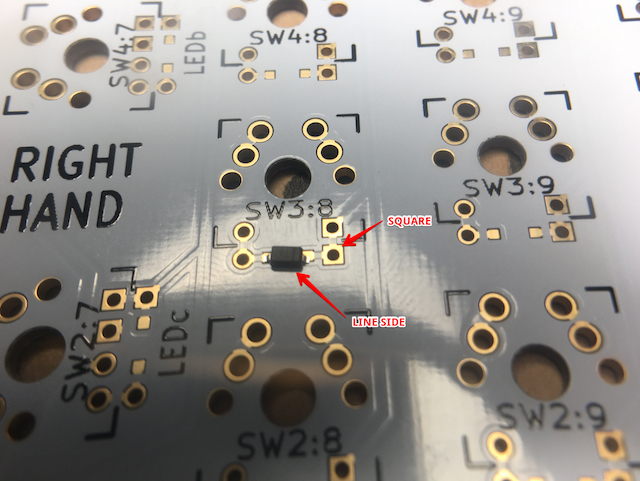
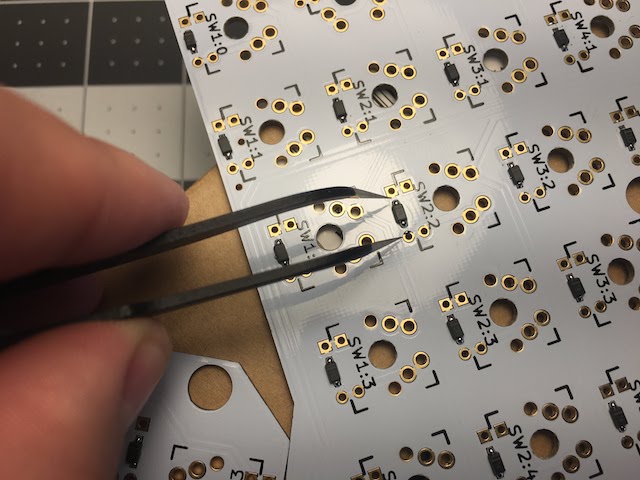
The diodes go on the bottom of the PCBs. So I turned the halves around and starting dropping tiny amounts of solder paste where the tiny diodes would be posing their legs.
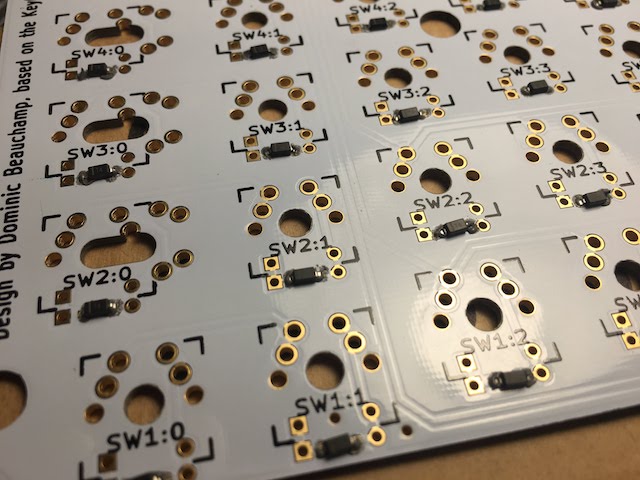
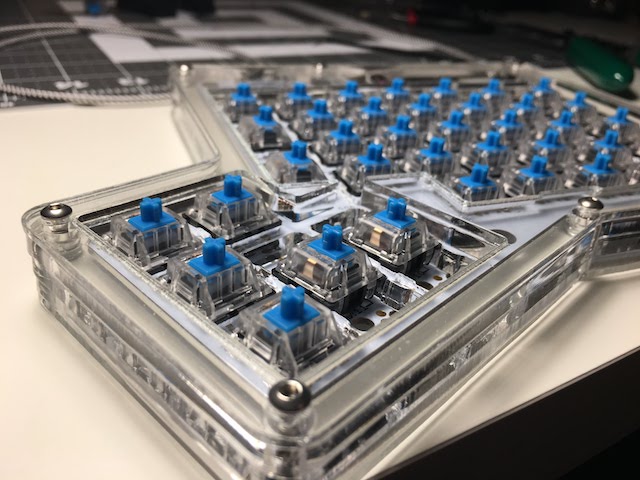
Special attention needed around the thumb clusters, where the diodes would go on a side vs under the keys:
Here is a closeup of the finished diode soldering task:
Switches and Case
The switches are the last part of the keyboard. The case is important because the switches need to sit on a plate that holds their position on top of the right contacts.
Cases for ergodox can be found in all kinds of shapes and materials. I’ve opted for Laser Cut Acrylic layers.
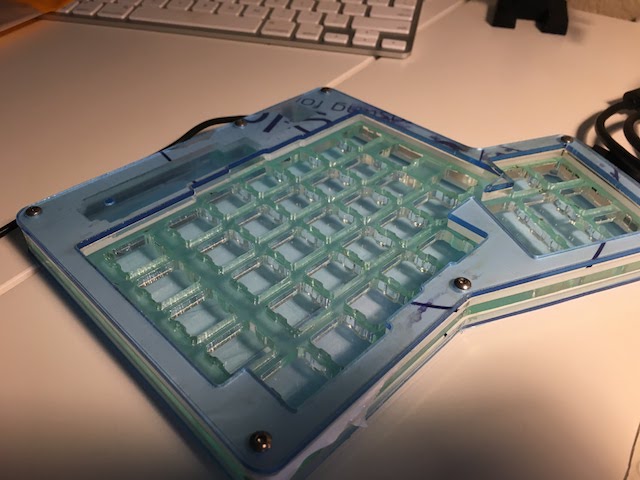
So I added the separator plate (where the switches sit)


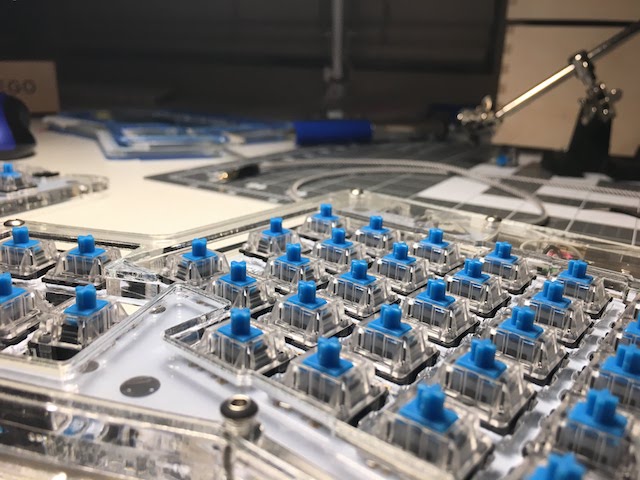
With some helping hands switched the board around and started to solder 2 legs per key.

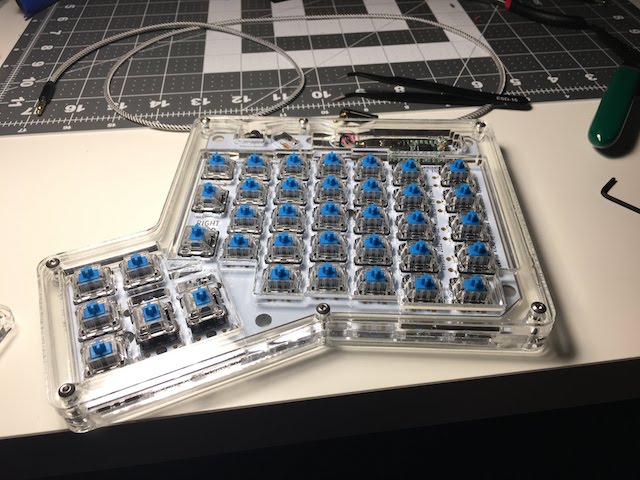
More glamour shots of this almost complete keyboard:
A little problem was found when I assembled the top plates and everything was tightened with the screws. The TRRS cable I’ve got has an L connector on the right side. I just wasn’t going to wait a single more day for stuff to come on the mail, so I grabbed an exacto knife and took a triangle off the right top side.

It almost looks professional.
Keycaps!
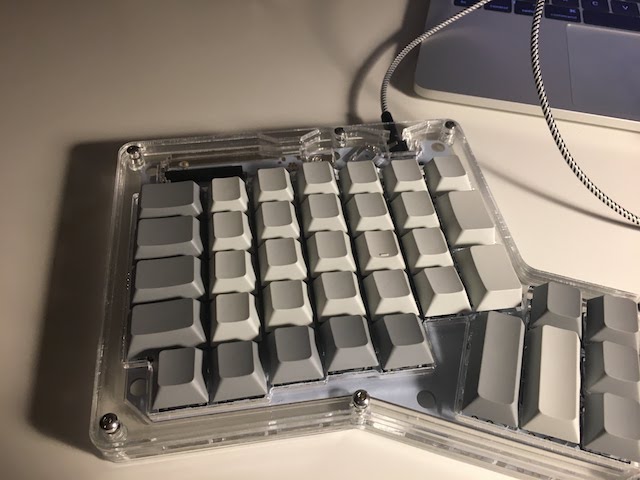
Now that everything was looking more complete, the electronics all soldered in and all. Time to add keycaps! The actual Ergodox keycaps I bought didn’t arrive at this time yet, but I was very eager to hear this baby click. So I ripped apart an existing standard 104 keys keyboard and started to put them on my Ergodox.
After the initial glorious qwerty cap set installation I realized the ergodox requires a very specific set of keys…
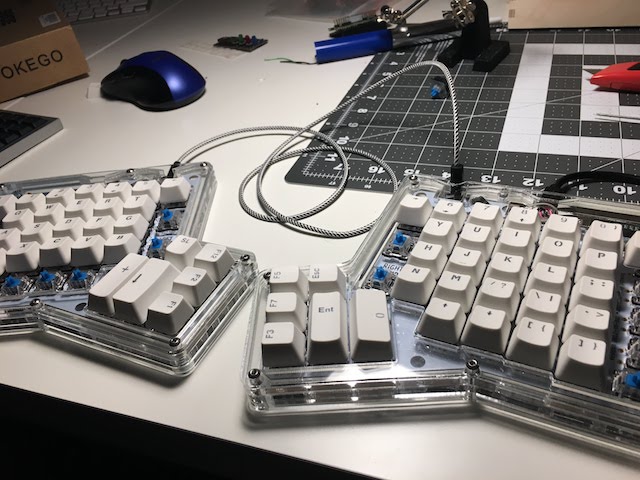
I didn’t had the right keys for the sides.
It was good to kick the tires. The Ergodox keycap set arrived the next day.
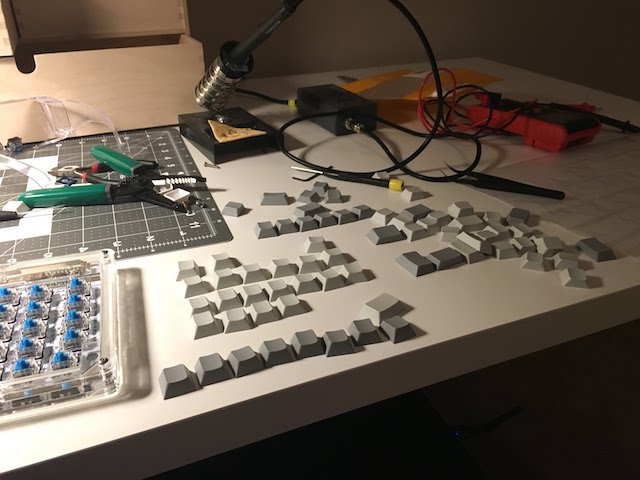
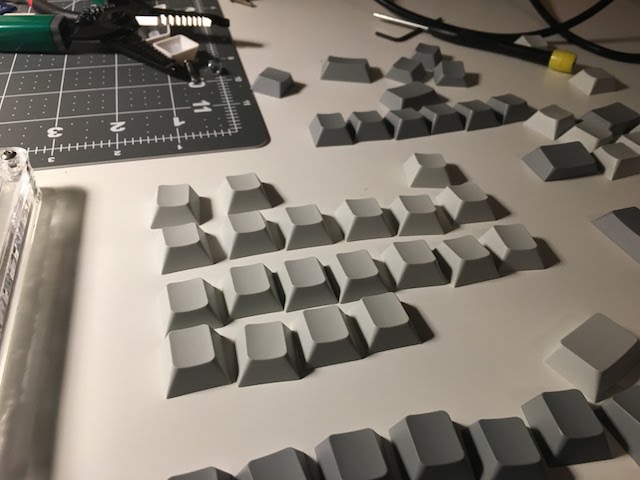
Surprisingly enough, the keycaps I ordered had different heights. It is something a first time mechanical keyboard enthusiast does not know until he faces it. The package comes organized in rows, I imagine to make the process of assembly easier. I ignored that and poured all keys on the table.
It took me more time to figure out where the keycaps went than the actual soldering of the Gateron switches. I started a deduction game from the marked keys (F and J) and later figured other key positions by elimination after setting the thumb clusters.
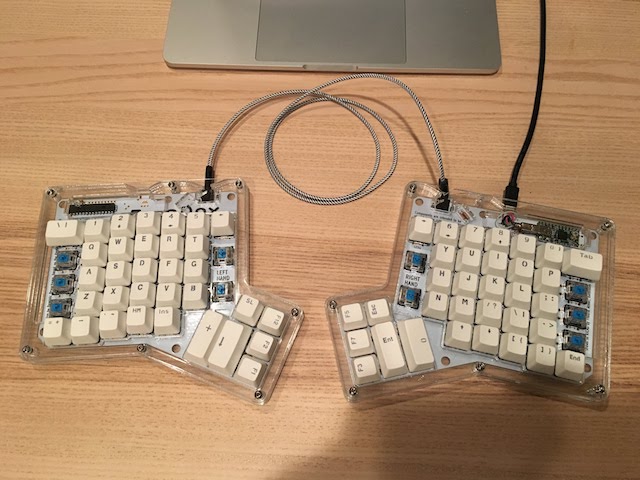
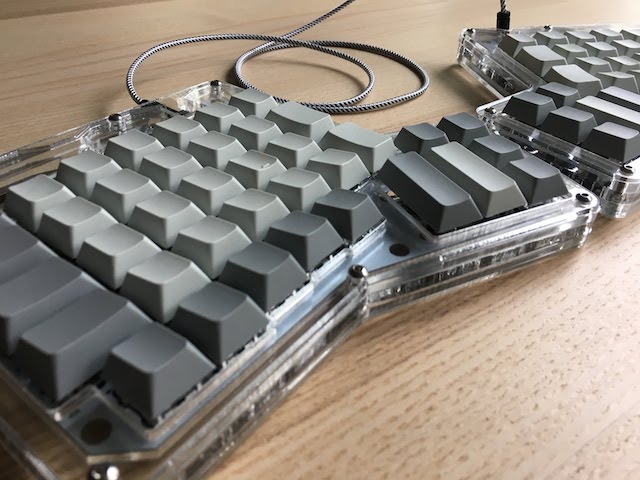
Fully Assembled
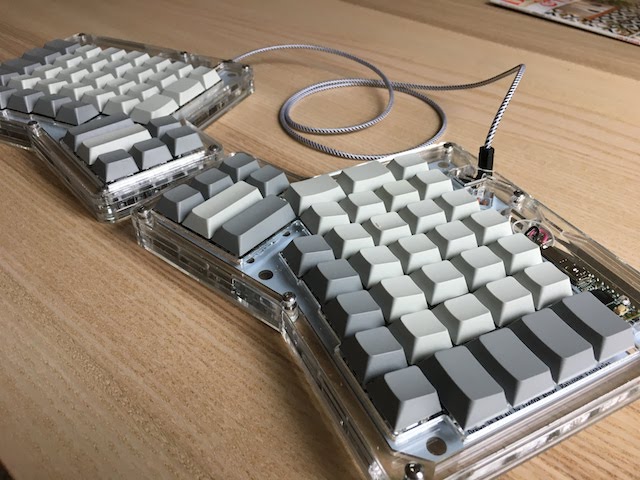
Using it!
The first step after everyting was connected was the firmware. One of the fun things about this keyboard is that is completely customizable. Also the fact that you can setup different layers.
There are some configurators online, but one that is particulary interesting is the one at ergodox-ez.
I started with the default configuration there and clicked “Download this layout”. Flashed the configuration using The Teensy Loader.
And a world of pain started… well, it wasn’t that bad. But the effort to go from a classic keyboard layout to the split keyboard is considerable.
I’m no typist. Even though I’ve been typing since I was 10 years old it seems I had some bad habits and used some right side fingers to press keys on the other half. Also, the layout of the Ergodox is orthogonal, which means the keys are aligned in perfect vertical lines (unlike traditional keyboards that are slanted).
The first week was painful, but little by little I started to see improvements. I did a decent amount of practice here. Working with unmarked keys is something I got over the first week, but it helped to have a second keyboard close by to relax a bit when things are taking too long…
Also this site was useful so I could print out the layout and pin it close to my monitor at home and work.
As the time passed I improved the configuration to match my needs. One complain maybe is the fact that the thumb clusters are a bit far away. I don’t use most of the buttons from the cluster what makes me think it would be good to have another keyboard with less cluster keys.
Nonetheless, the Ergodox is a great keyboard. My posture improved, my shoulder and back pain went away. I’m looking now into “tenting” my Ergodox to get a nice angle and make typing even more comfortable.
Comments